
Phone Camera Taking Blurry Photos? Try These Settings
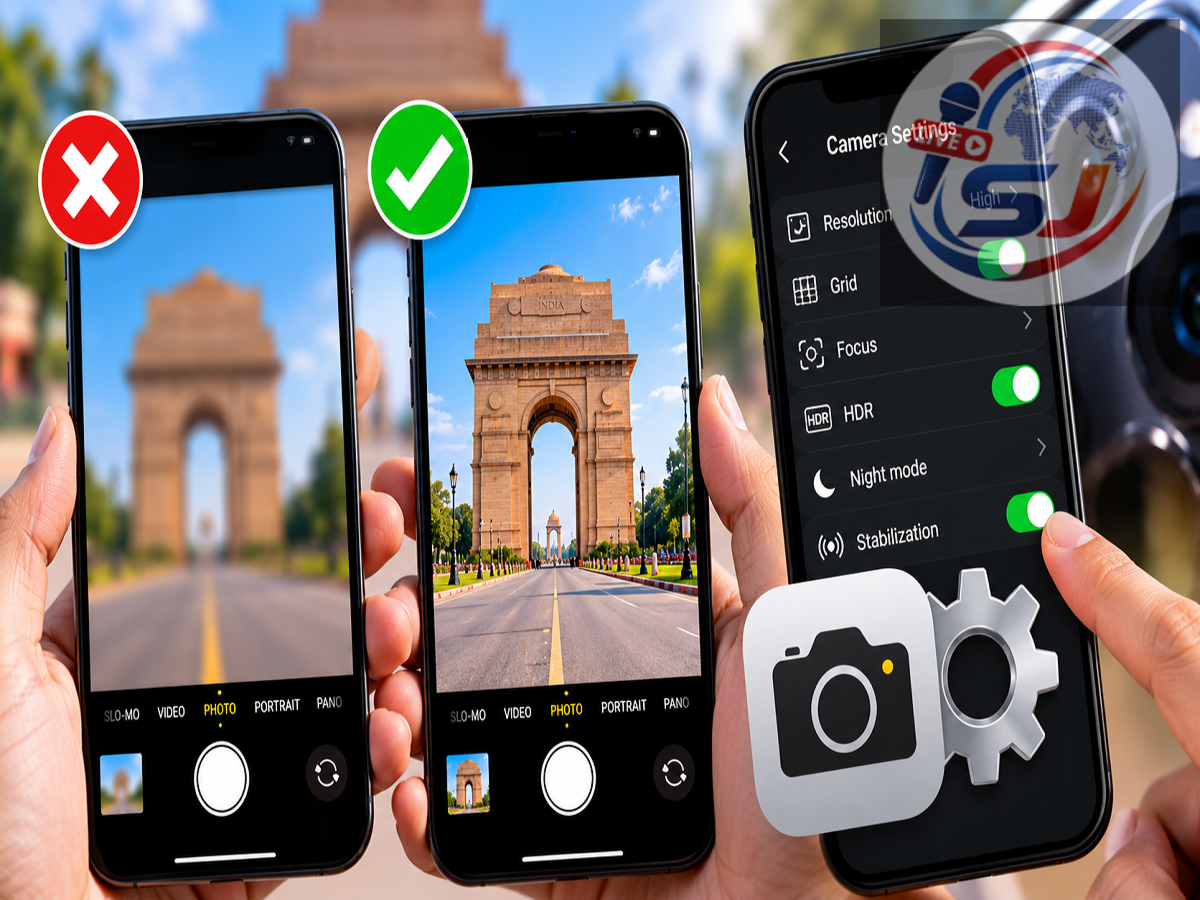
A smartphone with a powerful camera can still produce blurry, dull or poorly focused photos. If this happens frequently, it does not necessarily mean that your phone's camera is damaged.
Sometimes the problem can be as simple as a dirty camera lens, an unsuitable lens protector, incorrect focus, camera movement or a setting that was accidentally changed.
Before assuming there is a hardware problem, there are several basic checks you can perform. Adjusting a few camera settings and changing the way you take pictures may significantly improve image quality.
Here are some practical things to check if your smartphone camera keeps taking blurry photos.
Clean the Camera Lens First
Before changing any camera setting, inspect the lenses on the back of your phone.
Smartphones are handled throughout the day and are frequently placed inside pockets or bags. Fingerprints, oil, dust and other particles can easily accumulate on the camera glass.
Even a thin layer of fingerprints can scatter light entering the camera and make images appear hazy, soft or lacking in contrast.
Use a clean microfiber cloth to gently wipe the camera lens.
Avoid using rough fabric or dirty tissue, as these may leave marks or potentially scratch the surface.
After cleaning the lens, open the camera and take another photo. In many cases, this simple step can noticeably improve clarity.
Check Your Camera Lens Protector
Camera lens protectors have become common on smartphones, particularly those with large camera modules.
While a good-quality protector may help prevent scratches, a poor-quality, damaged or improperly installed protector can interfere with image quality.
A scratched protector can cause glare, especially when photographing lights at night.
Similarly, dust trapped underneath a protector may affect clarity.
If your camera started producing blurry pictures after installing a camera protector, try testing the camera without it, where safe and practical.
If image quality improves substantially, the protector may have been contributing to the problem.
Check the Photo Resolution Settings
Next, open your phone's camera settings and check the selected photo mode and resolution.
Some smartphones provide different resolution options, such as standard mode and a high-resolution mode that uses the camera sensor's larger megapixel output.
Higher resolution is not automatically better in every situation. Standard modes often use computational photography and pixel-binning techniques to produce better results, particularly when lighting conditions are not ideal.
The important point is to ensure you have not accidentally selected an unusual low-quality mode or another setting that does not suit the type of photo you are taking.
If you are unsure, returning the camera application to its default settings can be a useful troubleshooting step.
Use HDR When It Helps
HDR, or High Dynamic Range, can help when a scene contains both bright and dark areas.
For example, if you are photographing a person standing in front of a bright sky, HDR can combine image information to preserve more detail across the scene.
Many modern smartphones handle HDR automatically.
If your camera provides an Auto HDR option, leaving it on automatic can be useful for everyday photography.
However, HDR is not a universal fix for blur. If the subject is moving quickly, some phones may produce better results using a faster standard capture depending on the device and lighting conditions.
Check Whether Macro Mode Is Accidentally Active
If normal photos suddenly appear out of focus, check whether the camera is using the correct lens or shooting mode.
Macro mode is designed for subjects positioned very close to the camera, such as flowers, insects or small objects.
If a macro or close-focus mode is manually enabled while you are trying to photograph something farther away, the camera may struggle to produce the result you expect.
Some smartphones automatically switch to macro mode when they detect a nearby object.
If the automatic switching causes problems, check whether your camera application allows you to control the macro function manually.
Tap the Subject to Focus
Autofocus systems are generally reliable, but the camera may not always know which part of the frame is most important to you.
Before taking a picture, tap the main subject on the screen.
For example, if you are photographing a person, tap their face. If you are taking a picture of an object, tap that object.
The camera should then attempt to focus on the selected area.
Some phones also allow users to lock focus and exposure by tapping and holding the screen. The exact method differs between manufacturers and camera applications.
Focus lock can be particularly useful when you want to take several pictures of the same subject without allowing the phone to repeatedly change focus.
Keep the Phone Steady
Not every blurry photograph is caused by incorrect focus.
Sometimes the problem is simply motion blur.
This is particularly common in low-light conditions. When there is less available light, the camera may need a longer exposure to capture enough information.
If your hand moves during that exposure, the image can become blurred.
Hold the phone with both hands when possible and keep it steady while pressing the shutter button.
You can also lean against a stable surface or use a tripod when taking night photographs or long-exposure shots.
Use Night Mode in Low Light
If your phone has a dedicated Night Mode, it can improve photographs taken in dark environments.
Night Mode typically captures and combines information over a longer period to produce a brighter and more detailed image.
But there is an important condition: you need to keep the phone relatively steady while the photograph is being captured.
Moving the phone immediately after pressing the shutter button can reduce sharpness.
If the subject itself is moving quickly, Night Mode may also struggle because longer capture times can create motion blur.
What About OIS and EIS?
Many smartphones include image-stabilisation technology.
OIS, or Optical Image Stabilisation, physically compensates for small camera movements in supported camera modules.
EIS, or Electronic Image Stabilisation, uses software-based processing and is particularly common for video recording.
On many phones, OIS works automatically and there may be no separate switch for users to enable.
EIS settings can vary by device and may only be available in certain video modes or resolutions.
Therefore, users should not worry if they cannot find a dedicated OIS/EIS switch in their camera settings.
Grid Lines Can Help With Better Framing
Turning on grid lines will not directly fix a focus problem, but it can help you compose photographs more effectively.
Grid lines divide the camera preview into sections, making it easier to keep horizons straight and position subjects within the frame.
Look for options such as Grid, Grid Lines or Composition Guide in the camera settings.
It is a simple feature, but it can make everyday photographs look more balanced.
Reset Camera Settings If Something Looks Wrong
If you have changed several camera options over time and cannot identify which setting is causing the problem, resetting the camera application to its default settings may help.
Many smartphones provide a Reset Camera Settings option.
This usually restores camera preferences without deleting the photos and videos already saved on your device, although the exact behaviour can vary by manufacturer.
After resetting, test the camera again using its standard Photo mode.
Still Getting Blurry Photos? It Could Be Hardware
Settings cannot solve every camera problem.
If the lens is clean, the camera settings are correct and photos remain consistently blurry in good lighting, there could be a hardware issue.
A phone that has been dropped may develop problems with its autofocus or optical image-stabilisation mechanism.
Scratched or damaged camera glass can also reduce image quality.
One useful test is to switch between different rear cameras. If only one lens consistently produces blurry images while the others work normally, the problem may be limited to that particular camera module.
In such a situation, an authorised service centre may need to inspect the device.
Simple Checks Can Make a Big Difference
If your smartphone suddenly starts taking blurry photos, begin with the easiest fixes.
Clean the lens, inspect the camera protector, check the shooting mode, tap the subject to focus and keep the phone steady. Use Night Mode appropriately in low light and reset the camera settings if you suspect something was changed accidentally.
These steps can solve many common photography problems without requiring a repair.
However, if every photograph remains out of focus despite good lighting and correct settings, the problem may be hardware-related rather than something that can be fixed through the camera app.